Microsoft has recently launch a new tool, Azure AD Connect, to synchronize your on-premises Active Directory with Azure Active Directory. This new tool will become a one-stop shop for all on-premises and Azure synchronization. This new tool will replace DirSync and AADSync. It’s touted as a simple, fast & lightweight solution.
This article will step through the installation of Azure AD Connect. As you will see below, it is quick and easy.
- Download the Public Preview here.

- There are two files for download: Msi and a ReadMe. The readme is light, as this is a preview. Hopefully more details are to come.

- Double-click the MSI file to install.

- This MSI file will place a shortcut on the desktop to run the install wizard.

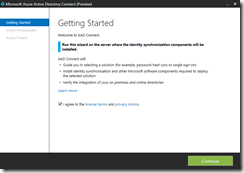
- On the Getting Started screen read the license terms and check the license agreement box and click Continue.
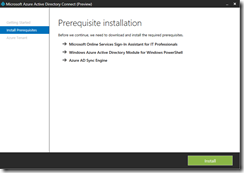
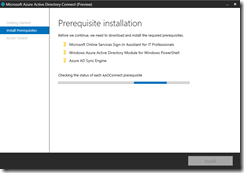
- The Prerequisite installation screen, the install will check for prerequisites and install them if they are missing.
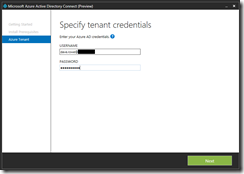
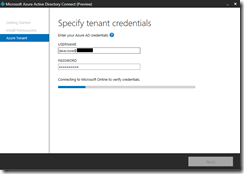
- The next step of the installation, Specify tenant credentials, requires an administrator account to your Azure AD tenant, or Office 365 tenant Admin, since Office 365 relies on Azure AD. Enter the USERNAME and PASSWORD: and click Next. The wizard will validate the credentials you enter.
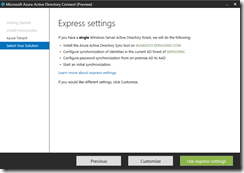
- The Express settings page you can choose to use the Express settings (i.e. Directory Sync with Password Synchronization. You also have the option to Customize your configuration.
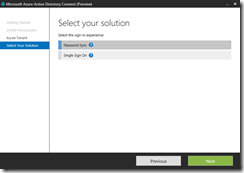
- When you choose to Customize, you have two options: Password Sync and Single Sign On (i.e. ADFS).
- On the Connect your directories, select your directory type (i.e. Active Directory), enter your credentials, and click Add Directory.
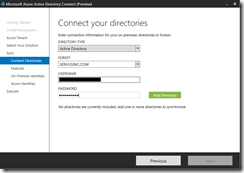
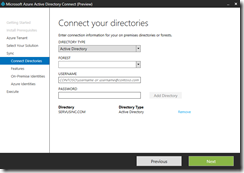
- If there are multiple directories, here is where you would add an additional Directory/Domain. I’m only syncing one directory, so I will select Next.
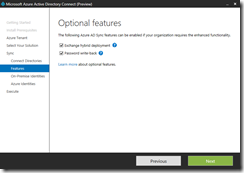
- On the Optional features page, you can choose to enable Exchange hybrid deployment and Password write-back. I selected both options. (We’ll explore these later.)
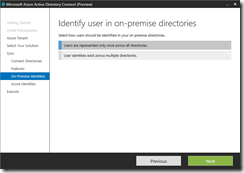
- On the Identify user in on-premise directories, select Users are represented only once across all directories or User identities exist across multiple directories. (I’ll have to research these options as well.)
- On the Identify users in Azure AD. The first option is to use the objectGUID, but if you are planning to synchronize
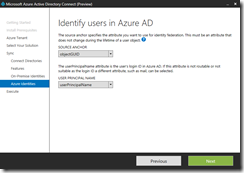
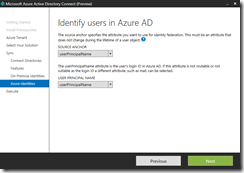
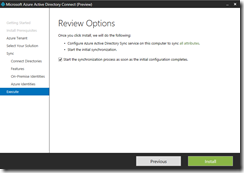
- On the Review Options window, check the box to Start the synchronization process as soon as the initial configuration completes. WARNING: If you do not want to sync your entire on-premises Active Directory with Azure AD, then do not select this option.
- The next step will initiate a full synchronization.
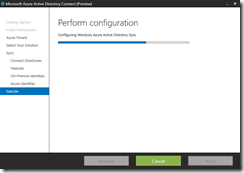
- Configuration is complete. Click Exit.
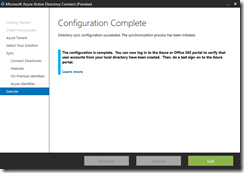
After the installation:
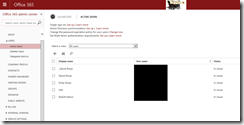
- This is a view of my Office 365 tenant before synchronization completes. Notice that all of my accounts are In Cloud.
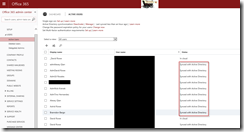
- Once the synchronization completes, you can see accounts Synced with Active Directory.
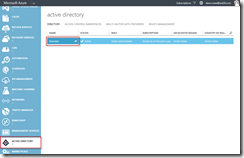
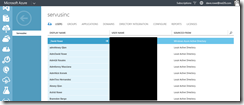
- This information is stored in Azure AD. If you have Azure AD Premium services, you can also access to your Azure AD tenant and see this information.
My next blog will focus on the tools available for customizing the synchronization process.


